Thursday, April 5, 2012


Conference Center Board Materials
Since its origination in 2010, my ConferenceCenter board has been a favorite activity during Conference, and has blessed our children. It even helps the rest of us remember who has yet to speak, etc.
I decided to make a separate post on this to save myself some time in sending out materials individually.
*If you use these, please leave a comment or send me an email! It helps me to feel the joy of sharing when I know others are benefitting.*
I would also really love to see a picture when you finish! I can post improvements you come up with to help benefit more people.
This post has more close-ups and details of my Conference Center board.
My Favorites page has more links to my General Conference materials and posts.
HERE is my updated board done in September 2012.
I really hope you benefit from these materials and that they help your children pay more attention to General Conference and glean more from it!
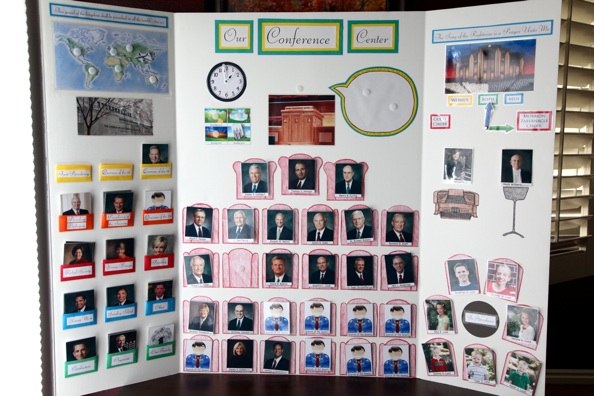
Here is a picture of my completed board (and an updated version is HERE):
The empty board:

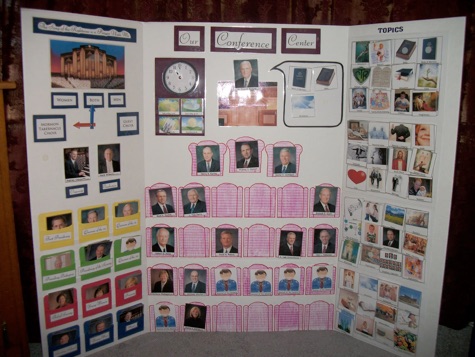
Here is a version my sister-in-law, Jeanette made, slightly differently: she left off the map and family seats, and put the topics cards directly on the board:
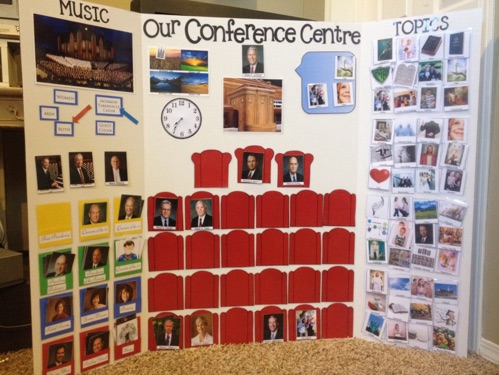
My other sister-in-law made one with a couch for her family instead of separate seats. She plans to add a rug on the floor for more “seating” space. Cute idea!
1. Buy a display board.
I bought mine at an office supply store (probably Office Max). These are the boards that you’d use for a school project or science fair. Mine has slightly visible grid lines on it, which are super handy for keeping things straight and even. The board measures 3’ high and 4’ wide (the middle panel is 2’ wide, and each outside panel is 1’ wide).
2. Print materials on photo paper (except for the text).
Here are the templates and text I used. I printed mine on regular paper, outlined them with heavy red crayon and colored in with red crayon. After drawing in lines for the chair backs, you can print yours directly onto red cardstock. You can fold pockets from the templates or buy some from an office store (as pictured on my sister-in-law's board).
I used the clear/white kind). Walmart sold them for a good price. You can also find them online for a good deal. On the board, you'll need about 33 (of the soft kind). (I'd put 2 circles for the organist since often 2 play at the same time.) The topics cards use 48. For the people, you'll need about 84. (Total: soft side: 81; rough side: 132)
I used the soft side of Velcro on the board and the rough side on the cards since the rough side is bulkier, and stacking the cards in the pockets gets pretty thick.
Tiffany Keetch made a marvelous board with printouts available HERE. She has a fantastic website, to boot!
Directions and Templates
I really like how Janelle Harris’s board turned out, especially the dark red chairs, her text, and her pulpit and conversation bubble. Super nice work!
-
3.Cut out materials, laminate, and cut out again.
4. Add Velcro circles.
*I did not check images for copyright, since I intended these only for my personal use.*
