Thursday, March 8, 2012


Montessori Spotlight: Sensorial
Children explore the world using their five senses: taste, touch, smell, hearing and sight. Dr. Montessori designed sensorial equipment to help children broaden and refine their senses.
Sensorial activities prepare the child for future activities in language and math. They also help the child develop coordination and dexterity.
I’ve spotlighted the main traditional Montessori materials here with a few extras at the bottom.
There are several traditional Montessori activities I never made or bought, but these have been sufficient for us. I should emphasize, that these materials were all obtained gradually over many years.
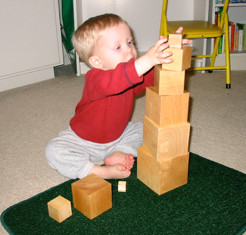
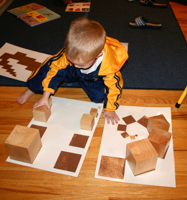

Pink Cubes / Pink Tower
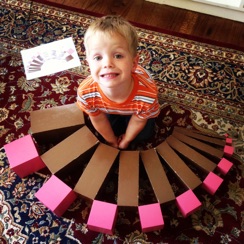
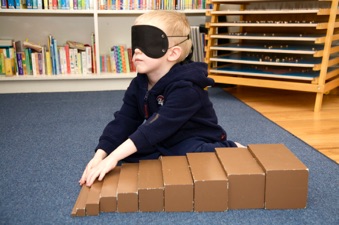
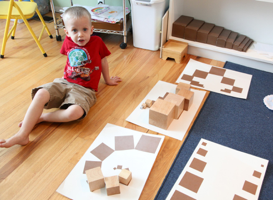
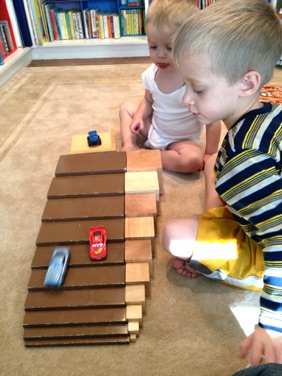
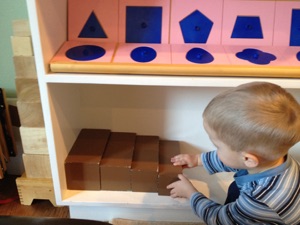
Brown Stairs / Brown Prisms
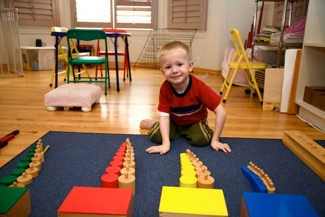
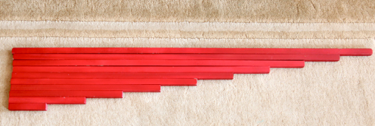
Red Rods
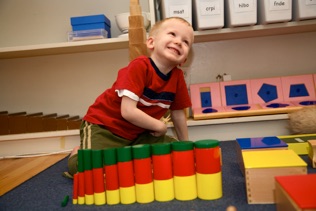
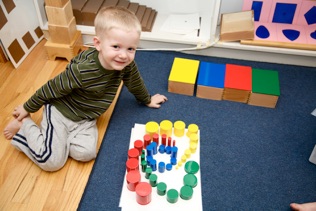
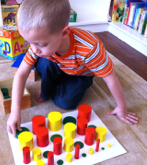
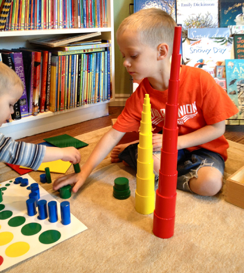
Knobless Cylinders
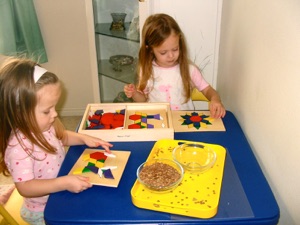
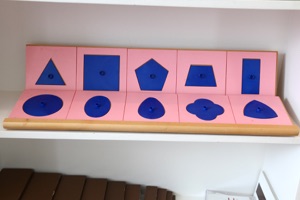
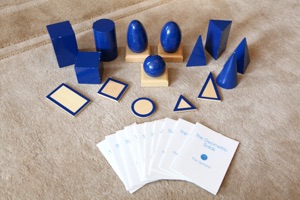
Geometric Cabinet and Geometric Solids
Tactile Fabric Box
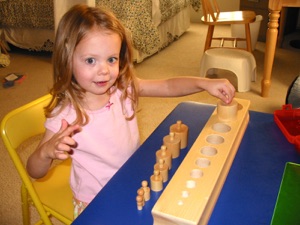
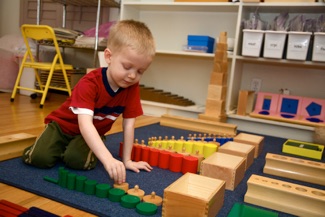
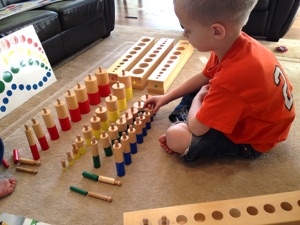
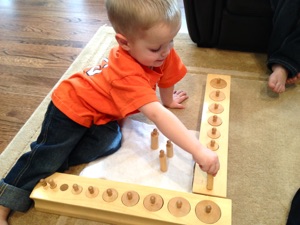
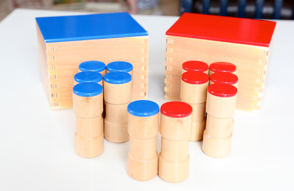
Knobbed Cylinders
Sound and Smelling Bottles
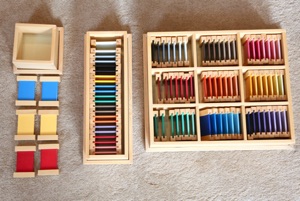
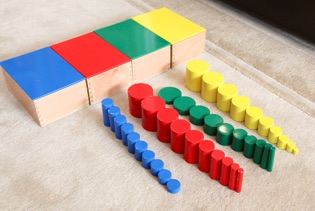
Color Boxes
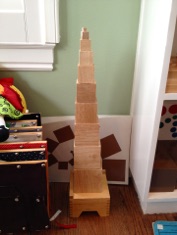
You’ll notice my “Pink Tower” is actually light brown. I didn’t want the boys to be turned off to using the cubes because of their color. I later bought the pink one since the color is so striking and the boys don’t have a problem with it.
I bought my brown one from Montessori n’ Such and the pink one from KidAdvance. You don’t need a stand for it, but I bought one. I made my own matching cards by tracing the cubes onto brown paper, cutting them out, gluing them onto white poster board, then laminating. I have small cards with one cube per card, and 4 large cards with the cubes arranged in various designs.
Object: learn to differentiate size from smallest to largest.
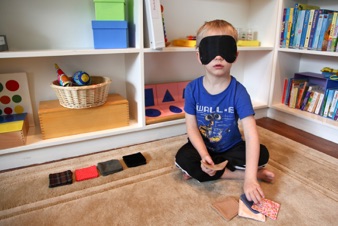
Build a vertical tower, horizontal tower, memory, blindfolded, matching cards.
Note: this is a tower never to be knocked down. Montessori is about construction, not destruction. The kids learn early on to treat the special materials with special care.
I bought my brown stairs from my friend Rinna who bought them in the Philippines.
Object: learn to differentiate size from thickest to thinnest.
Place prisms in order from thick to thin. Play memory, do blindfolded, use matching cards.
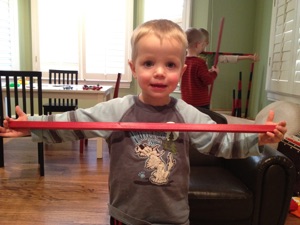
I made my red rods. I bought the wood from Lowe’s, had Jon cut the lengths for me, I sanded them and spray-painted them red. Pretty easy and cheap.
Object: learn to differentiate size from longest to shortest.
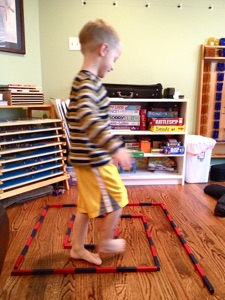
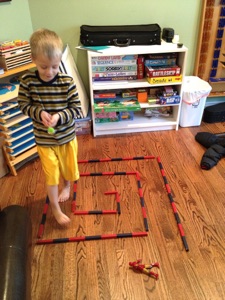
Carry rods by the ends and place in order from long to short. Play memory, do blindfolded, make a maze and walk through it. Walk through it holding an object on a spoon, bell, etc.
I didn’t have these for a long time, saved up, and finally bought some from Kid Advance. I made some matching cards for them using a circle cutter and colored paper. I think there are some patterns online you can print.
Object: visual discrimination of height and diameter, grading size, tall short, thick, thin, wide, narrow.
Line up cylinders, grade by size, build towers, compare to the other colors, use matching cards.
I never got a “geometric cabinet” to teach shapes (too outrageously expensive). I used my insets and various puzzles or books for that. I did buy a box of geometric solids (can’t remember where) and some instruction booklets. I filled a basket with geometric objects (ball = sphere, ice cream cone = cone, etc.), which the kids love.
Object: Learn shapes (plane geometric forms and 3-D solids), visual discrimination
Name shapes, trace and match them, feel the solids, match to pictures and find objects of similar shape.
This was a cheap one to make. I made two matching squares of fabric from my own fabric stashes (sewn together, then turned right side out). I also made a “mystery bag” in which I put various objects. The kids tried to guess what the object was before pulling it out. You can also make a “visual fabric box” of patterned fabrics where the object is all visual discrimination.
Object: tactile discrimination
Explore the fabrics by sight and feel, use a blindfold to match, grade from rough to smooth.
The kids learn to return the items to their proper place on the shelf.
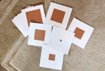
I bought the matching cards for these, but they’d be easy to make.
You can compare the brown prisms with the pink tower since they will match up. You can also make our buy pattern cards for these.
Walking through the maze helps the kids learn balance. Holding a bell (and trying not to ring it) or carrying something on a spoon (without dropping it) helps them learn even more coordination (and it’s pretty fun!)
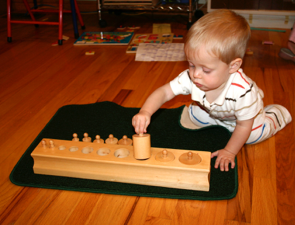
I wanted these pretty badly early on, so I saved up and bought them on sale.
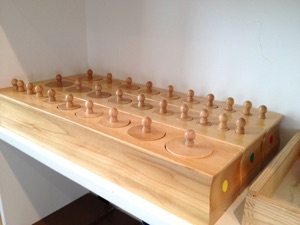
Object: discrimination of height and diameter, tall short, thick, thin, wide, narrow, grading size, preparation for writing (holding the knob in the same way you hold a pencil).
Remove all the cylinders, trace the bottom of each cylinder and the hole it goes into with finger, return cylinder to its place. When all 4 blocks are mastered, do two at a time, then 3 at a time, then 4 at a time.
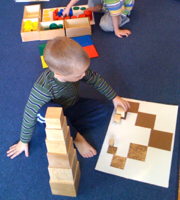
Tessellations
Rather than the fancy Montessori boxes of hexagonal, rectangular and triangular shapes, etc., I bought this box of tessellation boards.
Object: discrimination of geometric forms
The kids match the patterns on the boards or make their own patterns.
This only shows 3 of my 4 cylinder blocks. I put a colored sticker on the end since these match with the knobless cylinders.
Once the child masters the knobless and knobbed cylinders, he can put them side-by side, stack them on top of each other, build towers, etc.
I made my own sound and smelling bottles using empty film canisters. Later, I bought a set of sound boxes from Kid Advance.
Object: sound discrimination
Shake one red bottle. Shake each blue bottle until a match is found. Put them together. Repeat until all matches are made.
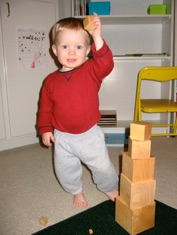
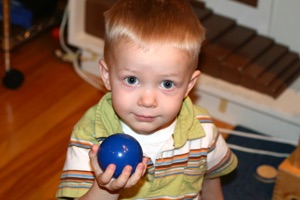
12-month old Andrew
Other
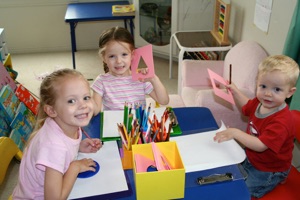
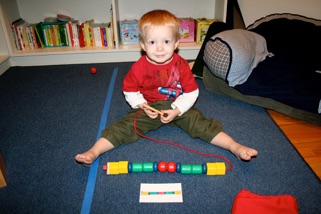
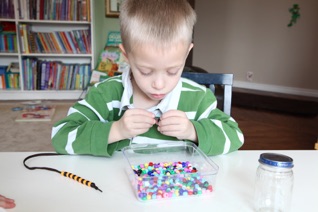
I bought a set of lacing beads from Montessori n’ Such. I made my own designs, took pictures of them, and glued the pictures onto 3x5 cards. The kids love matching the patterns.
You can also see a blue painter’s tape line. This is for an exercise called “walking the line” where the kids learn to walk on the straight line, then learn to carry objects without dropping them while walking the line. It’s great for coordination and concentration.
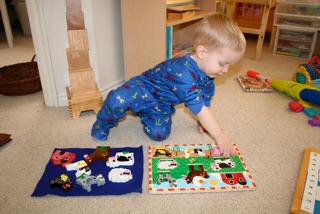
Put a rectangle of felt next to the puzzle. The child then has a place to put all of the puzzle pieces. After moving all the pieces to the felt, the child puts them back in the puzzle.
It’s helpful for the kids to have an organized space in which to work.
Don’t you love the quality of Melissa and Doug wooden puzzles?
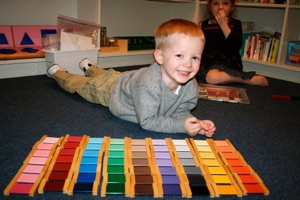
I originally made my own set of color matching cards from paint sample cards. Later, I bought a set.
Object: learn color names, appreciation of color, chromatic sense
Box 1: Match the 3 primary colors to each other.
Box 2: Match the colors to each other.
Box 3: Grade each set of colors from lightest to darkest.
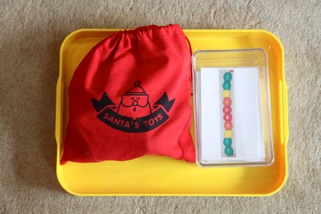
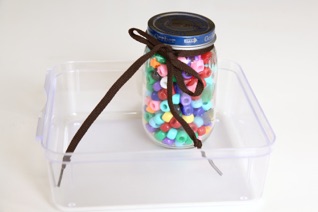
I bought a cheap bag of beads from Walmart, put them in a baby food jar and tied a shoelace (with a knot tied at one end) around the top. The kids love lacing the beads and making patterns.
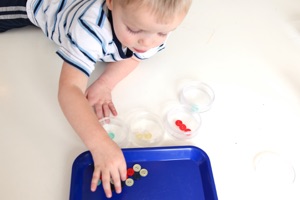
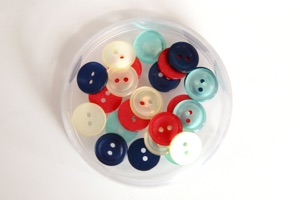
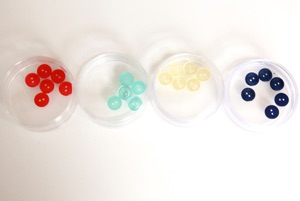
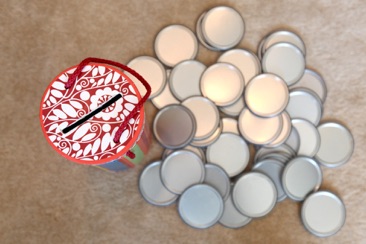
I bought 4 different colors of buttons, all the same size. I either pour them into a bowl or onto a tray and have the child sort them into colors. I like the clear, stacking craft boxes from Walmart.
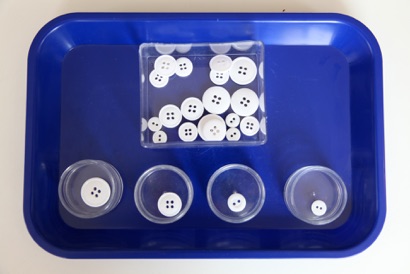
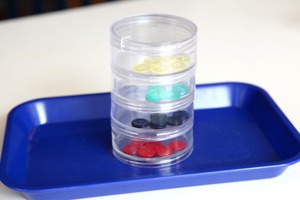
A more difficult challenge is sorting same-color buttons by size. (I used the smaller stacking craft boxes from Walmart.)
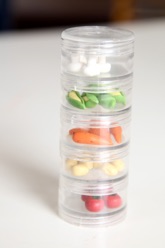
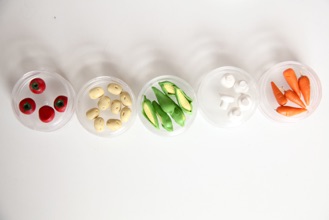
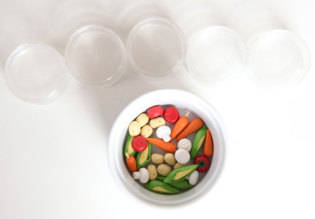
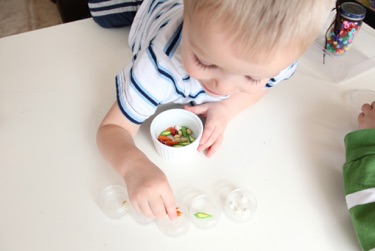
I couldn’t resist these vegetable miniatures from Montessori n’ Such! They make for a fun sorting exercise.
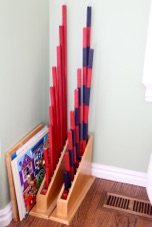
I eventually bought stands to hold my red rods and math rods.
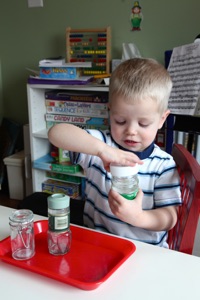
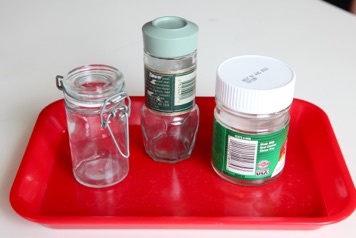
I gathered some small jars with lids for practice opening and closing jars. (Most of them have wandered off. I used to have a little more variety.)
My boys love making a ramp out of them to roll their cars down. I approved of this since it won’t work unless they are lined up correctly, and it made the activity more fun.
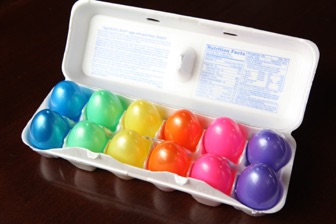

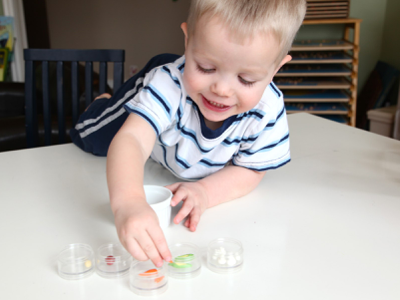
This activity was simple to make. I bought the Easter eggs after the holiday, put them in an empty egg carton, and voila! Cute sorting exercise.
I’m thinking of coloring marker on the bottoms of the egg carton so the child knows the order to put them. Even without that, they love putting the eggs in and out of the carton.
The Montessori Print Shop makes a pack of extension cards for the brown stair and pink tower. You buy them, download them, and print them at home. I printed mine on photo paper, then laminated the cards.