Sunday, March 4, 2012


Montessori Spotlight: Language
Since I’ve had a few questions about my Montessori materials, I thought I’d share a little about the language category: what I’ve made, what I’ve bought, and (very) basic concepts of usage.
After being introduced to Montessori teaching methods by my amazing friend Rinna, I read several Montessori books, found some free manuals online, paid for an online Yahoo Montessori group to get manuals from a certified Montessori teacher, and did a lot of research.
So there you go. Those are the main supplies used in Montessori language learning. I’ve gotten a lot of use out of these materials and they sure make learning fun!
Sandpaper Letters
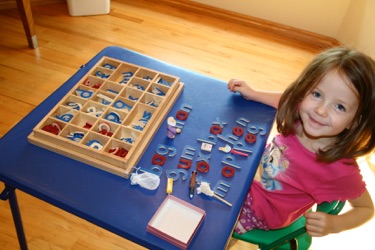
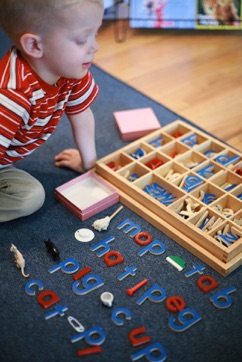


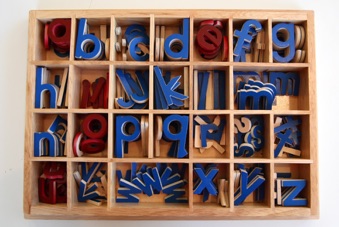
Movable Alphabet
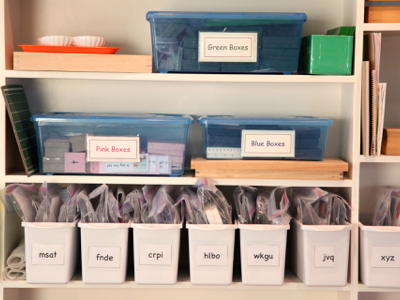
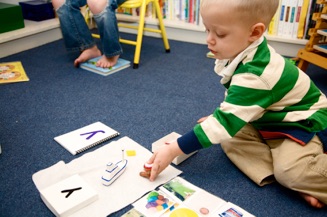
Beginning Sound Bins (Alphabet Bins)
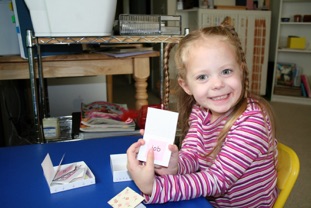
Phonetic Reading: Pink Level
Blue Level
Green Level
Writing
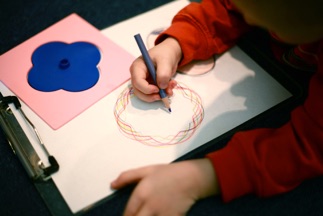

Insets
The insets help train the child’s hand for writing. You begin with the easiest shapes (circular), then move to the angular shapes. The child traces the template, traces the inset shape over it, then colors in the middle. They can do more complicated designs as they gain abilities and control.
I bought a plastic set of insets online super cheap (so many years ago that I don’t know where). I also bought the colored pencil holders somewhere on sale. I love the look of freshly sharpened pencils in them! (You can improvise and make your own pencil holders.)
Montessori Supplies
Montessori supplies are very expensive, so I made as many materials as I could. I saved up for those I couldn’t make, watching for sales, and comparing websites. My favorites:
Kid Advance is my favorite Montessori site because their items are all high-quality, and the prices are reasonable.
Montessori n’ Such was one of the first sites I used. It has pretty cheap prices, but I have been disappointed on the quality of some of their items.
For Small Hands (I use this site mostly for Practical Life supplies - like child-size cooking and cleaning equipment)
I also bought some supplies from Montessori Philippines. *Update (Sep 2013): I have tried for 6 months to order more supplies from them. Their email responses came very slowly, and then stopped completely. I can’t endorse them anymore.
Other Montessori sites I have purchased from:
Montessori Concepts Montessori Outlet Montessori Services
The Learning Store By Lakeview is where I bought my empty pink boxes. I also bought an A-Z set of objects, but the quality was low and the price was high.
I made my own sandpaper letters. I bought a large sheet of Masonite from Lowe’s and Jon cut it into squares for me. Then I spray-painted both sides of the boards: blue for consonants and pink for vowels (some sites switch those).
I made the letters 2 different ways. For both, I found a font I liked online and printed it large.
1 - I cut out the letters and traced them onto the back of sandpaper, cut out the sandpaper, and glued it onto my boards. I didn’t love the feel or look of this version.
2- Using an Xacto knife, I cut out the letters. Using that paper as a template, I put it on my board, spread wood glue inside the letter template (using my finger), lifted off the template and poured craft sand onto the glue, shaking off the excess, and let it dry. I love the feel and look of these and the craft sand was only $1.50!
The kids trace the letter with their writing hand while making the phonetic sound of that letter.
After learning a letter, you quiz the child to check for retention. After learning 2, quiz on both letters, etc. There’s a 3-step process for this.
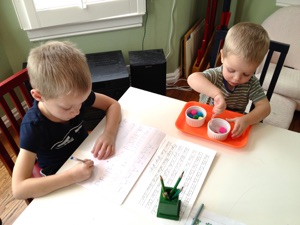
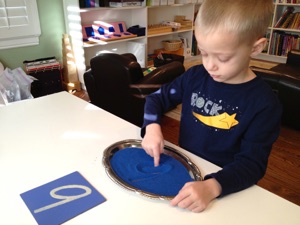
I recently bought some colored craft sand and poured it into a little tray for the kids to practice writing the letter free-hand.
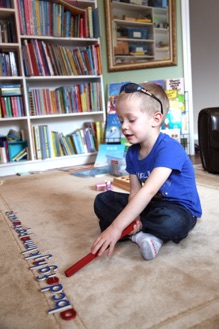
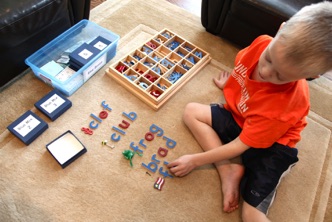
I bought a moveable alphabet box here. I bought one set of wooden blue letters and spray-painted the vowels red. Looks like they now have red vowels. (Don’t bother buying the plastic letters... they were very cheap and not fun to handle.)
I like the alphabetical arrangement of this box. I’d have the child sing the ABC song while pointing to each letter. They also got to take each letter out and line them up on a line on my rug, then point to each letter as we sang the song very slowly (esp. on LMNOP).
Once the child is familiar with finding letters in this box, he can start building words using the pink boxes.
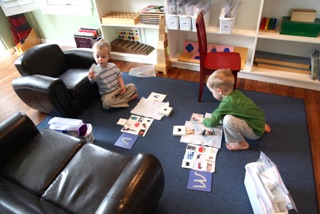
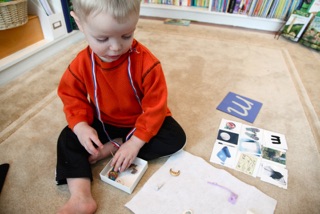
These are some of our favorite language materials! I made all of these myself. These are for learning the (phonetic) sounds of letters at the beginning of words.
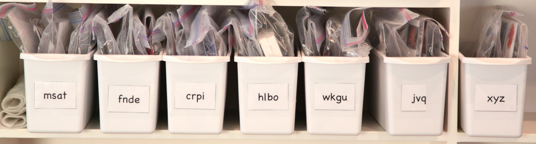
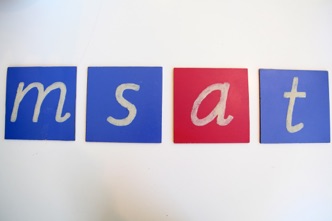
Each letter has its own Ziploc bag. Four are grouped in an ice bin (bought from Target) according to the Montessori order: most common letters first (MSAT), with one vowel in each bin.
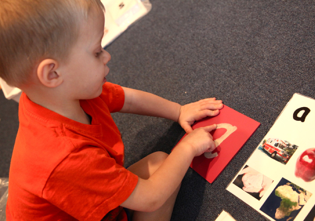
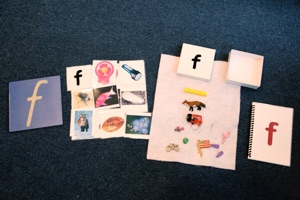
Each Ziploc bag contains:
sandpaper letter
matching cards (with one raised, felt letter)
initial sound objects box (with a felt letter on the lid)
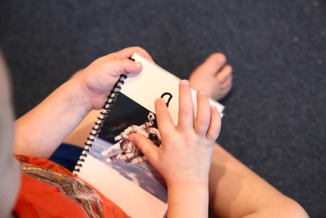
initial sound word book
1. The child traces the letter while making the sound.
The child takes each item out of the bag, and sets them in the same order every time (the matching cards turned face down below the large matching card, and the object box at the top of the mat).
2. The child turns over the picture, says the word (you say it first if they don’t know it) and matches it to the picture on the big card.
3. The child opens the box and puts the lid at the top of the mat, then takes out each object, says what it is, and places it on the mat.
4. The child says the sound on the front of the book (can trace it if they like). On each page, the child touches the letter and makes the sound, then says what the picture is.
5. The child puts all of the objects back in the box, and puts all the supplies back into its bag in an orderly way.
Note: The objects are highly motivational, and the kids are not allowed to play with them or get them out except for this activity.
Objects: (photos HERE) put on your “Montessori glasses” and look for specialty buttons, Barbie accessories, miniature dollhouse items, Toob toys, CrazErasers, household items (paper clip, small light bulb, felt, yarn, etc.) and make your own objects using Sculpey and paint.
I bought most of my boxes at XPedx.

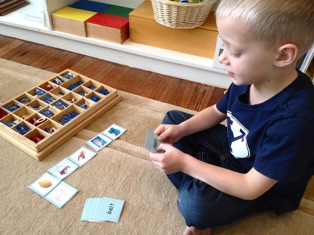
I bought five pink boxes and filled them with objects. I started separating objects by their vowels (A-words like cat, man, bag... E-words like peg, web, etc.) and later put a mixture into each box.
The pink level = 3-letter phonetic words.
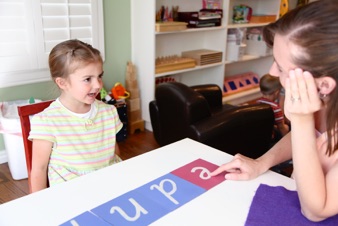
The child chooses an object, and builds the word using the letters in the moveable alphabet box. It takes practice to break down all 3 sounds of the word - especially that middle vowel.

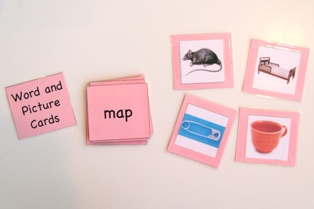
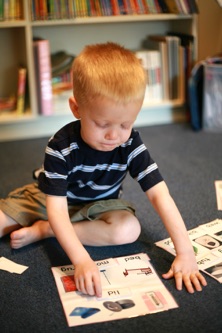
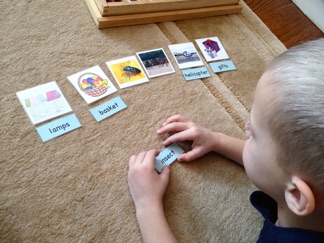
I made some “Word and Picture Cards.” The child reads the word, then turns over the picture to see if they got it right.
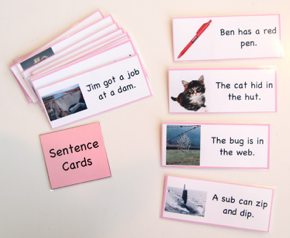
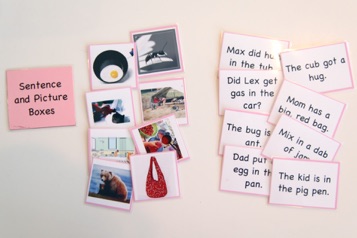
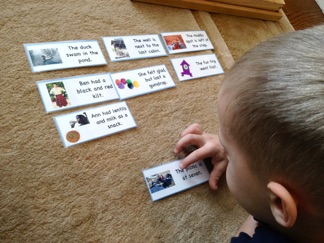
“Sentence Cards” have a phonetic sentence with a related picture. The child can use cues from the picture to help with the words.
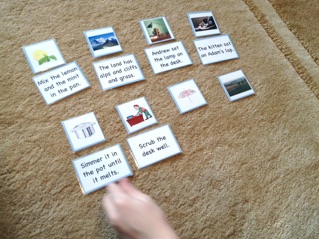
Separate “Sentences and Pictures” take away the picture cue. The child reads the sentence and then finds the matching picture.
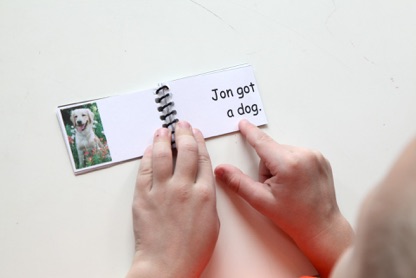
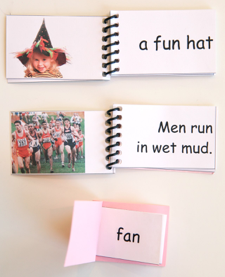
I made a few “Phonetic Phrases” books, “Phonetic Sentences” books, and books with one word per page (to let the child feel like they are reading a real book).
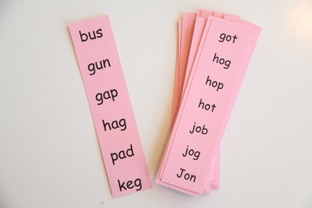
You can also, of course, print word lists, starting with related words like bat, cat, mat.... then adding a variety of 3-letter phonetic combinations.
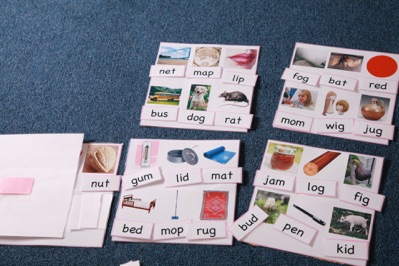
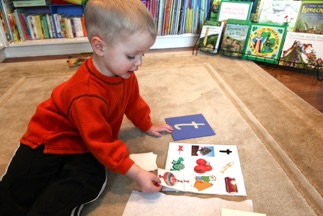
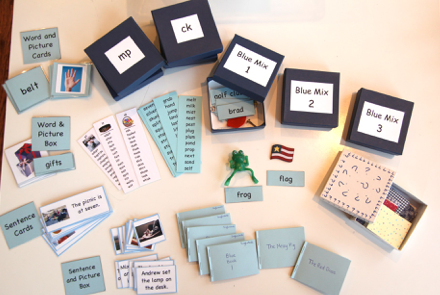
This is a fun one: six pictures on each card. Six words in a pocket on the back. The child reads the word, then matches it to the picture. (Make these for blue-level, too.)
The “Mystery Box” is a huge hit, for some reason. I drew pink question marks on a white box, cut up a variety of patterned papers folded in half, and pasted a word inside each one.
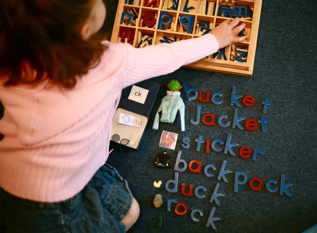
The blue level = longer phonetic words (four letters or more).
Start with 4-letter words, then move on to longer words.
You can also make boxes of specific letter combinations like “ck.”
The blue materials are pretty much identical to the pink, just with longer words.
word on one side, picture on the back
Read the word and match it to a picture.
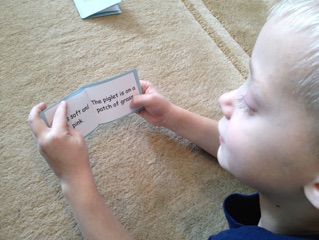
Sentence Cards: read the phonetic sentence.
Sentence and Picture Cards (separate): read the sentence, then match it to one of the pictures.
Read a picture-less book.
The green level = everything else (non-phonetic reading).
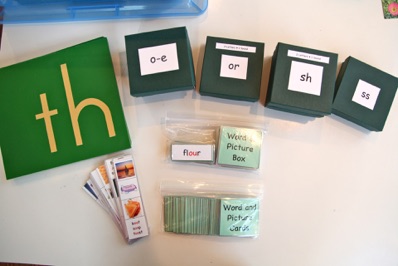
I have a large bin full of green boxes with a variety of letter combinations to learn, and a variety of materials but haven’t ever used it a ton. Once my kids learned how to read at the pink and blue levels, it didn’t take much “green” training before they were reading fluently. I think teaching them to read using the scriptures sped the process up quite a bit.
My fourth child is needing more practice on the green level than my other kids did, so you never know.
Other Books
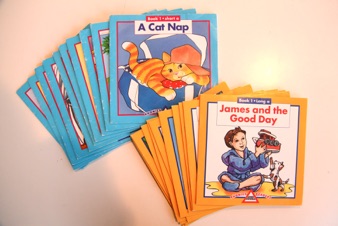
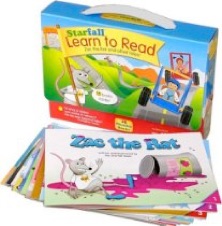
I found a set of phonetic books (the blue ones) online to add to the little books I wrote. I can’t find that set anymore, but recently bought this Starfall “Learn to Read” book set. In both of them, the second half of the set uses long vowels, which would help with your green-level reader.
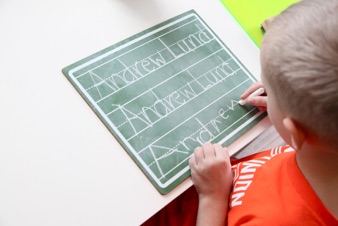
For writing practice, I bought a pad of large lined paper as well as a little chalkboard with chalk.
Photos and list of all of the objects HERE.
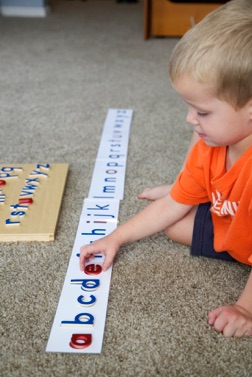
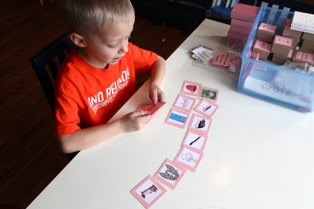
To help the child set the letters the correct way, I printed a set of matching cards, which I cut, laminated, and taped together to form a long strip. I’ll include the file as soon as I can.
